Nothing captures the essence of summer quite like the sweet, tangy flavor of homemade cherry jam from Hunza Store. Whether you’re spreading it on toast, dolloping it on pancakes, or using it as a filling for pastries, this versatile treat brings a burst of natural goodness to any dish. In this ultimate guide, we’ll walk you through the steps of making your own organic jam, share tips for ensuring the best results, and explore some creative uses for your delicious creation.
Why Choose Homemade Cherry Jam?
Homemade cherry jam offers a host of benefits over store-bought varieties. First and foremost, you have complete control over the ingredients. By using fresh, organic cherries, you ensure that your jam is free from pesticides and artificial additives. Additionally, homemade jam allows you to adjust the sweetness to your liking and experiment with flavor enhancements, such as adding a splash of vanilla or a hint of spice.
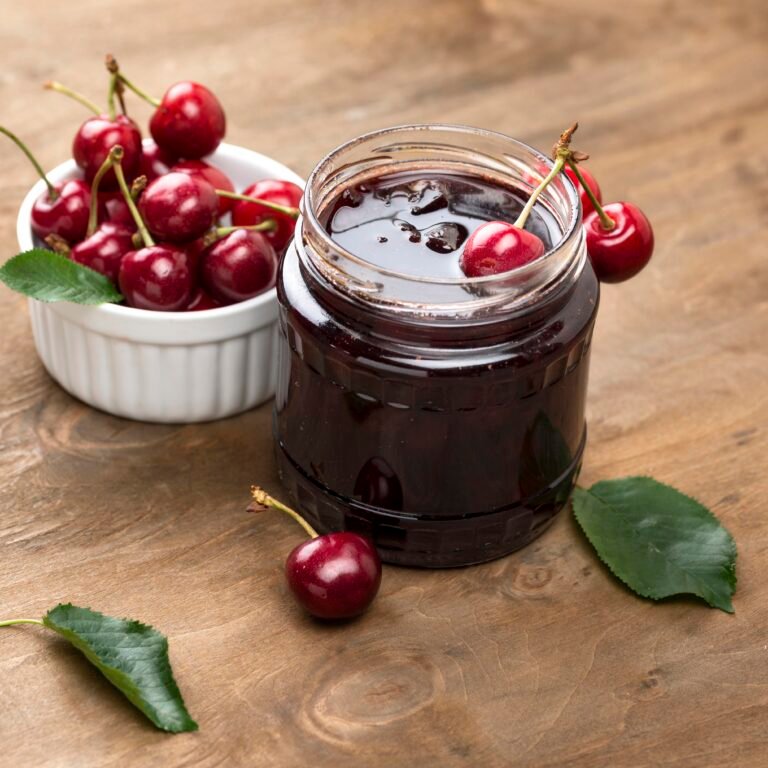
Ingredients and Equipment
To get started, gather the following ingredients and equipment:
Ingredients:
- 4 cups of fresh, organic cherries (pitted)
- 2 cups of granulated sugar
- 1/4 cup of lemon juice (freshly squeezed is best)
- 1 teaspoon of vanilla extract (optional)
Equipment:
- Large pot
- Wooden spoon
- Potato masher or immersion blender
- Sterilized jars with lids
- Ladle
- Candy thermometer (optional, but helpful)
Prepare the Cherries:
Begin by washing the cherries thoroughly under cold water. Remove the pits using a cherry pitter or a small knife. Halve the cherries if they are large.
Cook the Cherries:
In a large pot, combine the pitted cherries, sugar, and lemon juice. Place the pot over medium heat and stir occasionally until the sugar dissolves and the cherries start to release their juices.
Mash or Blend:
As the mixture heats up, use a potato masher or immersion blender to break down the cherries to your desired consistency. For a smoother jam, blend more thoroughly; for a chunkier texture, mash lightly.
Boil the Mixture:
Increase the heat to high and bring the mixture to a rolling boil. If you have a candy thermometer, aim for a temperature of 220°F (104°C). This is the setting point where the jam will thicken properly. If you don’t have a thermometer, you can test the jam by placing a small spoonful on a cold plate and checking if it gels after a few minutes.
Add Vanilla (Optional):
If you’re using vanilla extract, stir it in after the jam has reached the desired consistency. This adds a lovely depth of flavor to the jam.
Jar the Jam:
Once the jam is ready, carefully ladle it into sterilized jars, leaving about 1/4 inch of headspace at the top. Wipe the rims of the jars clean with a damp cloth, place the lids on, and screw on the bands until they are fingertip-tight.
Process the Jars:
To ensure your homemade cherry jam is preserved safely, process the jars in a boiling water bath for about 10 minutes. This step is crucial for sealing the jars and preventing spoilage.
Cool and Store:
After processing, remove the jars from the water and let them cool completely on a towel or cooling rack. Check the seals once they are cool. Properly sealed jars can be stored in a cool, dark place for up to a year. Refrigerate any jars that did not seal correctly and use them within a few weeks.
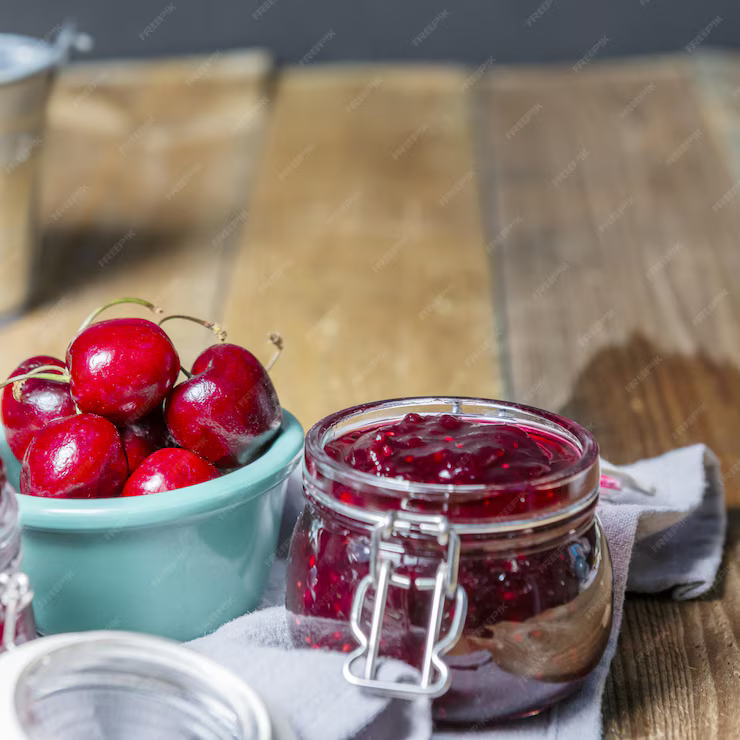
Making homemade cherry jam is a rewarding process that allows you to capture the vibrant flavors of organic cherries in a jar. With a few simple ingredients and some basic kitchen equipment, you can create a delightful spread that will elevate your breakfasts, desserts, and more. Plus, knowing that your jam is free from artificial ingredients and preservatives makes it all the more satisfying. So, gather your cherries and get jamming—your taste buds will thank you!


Leave a Reply